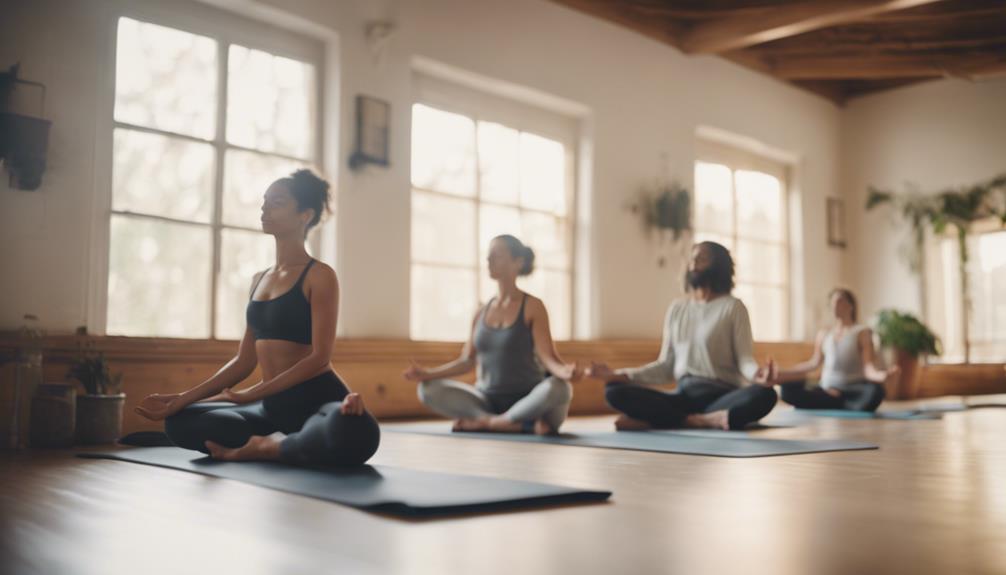
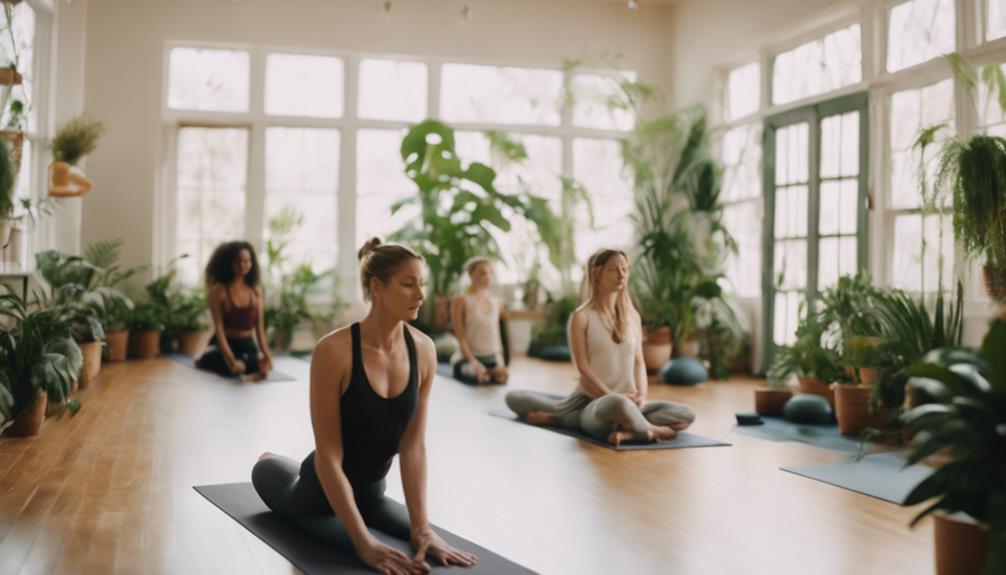
Are your favorite yoga pants just a tad too long, leaving you tripping over fabric during your downward dog? Don’t fret! Hemming your yoga pants is not only easy but also a fun DIY project that can give your wardrobe a personal touch. Whether you’re a sewing newbie or a seasoned pro, this guide will walk you through the process while keeping your spirits high and your style intact. Say goodbye to extra length and hello to a customized fit that makes you feel fabulous!
Say Goodbye to Extra Length: Hemming Your Yoga Pants Made Easy!
Hemming your yoga pants can seem daunting at first, but with a little patience and the right tools, you’ll be on your way to a perfectly tailored fit in no time. First things first, gather your supplies: a ruler, fabric scissors, pins, a sewing machine (or needle and thread if you’re feeling adventurous), and of course, your yoga pants. Lay your pants flat on a clean surface and measure the extra length you want to remove. Don’t forget to account for the hem allowance – typically, about 1 inch is a good number!what to wear to aerial yogahow to begin yoga at home
Next, it’s time to mark your measurements. Use a fabric chalk or marker to draw a line at the desired length. Then, carefully cut along this line, ensuring you have a smooth edge. If you want to make sure everything stays in place, pin the fabric along the new edge. This will help you maintain a straight line while you sew and prevent any accidental shifts that could lead to an uneven hem.
Now comes the fun part – sewing! If you’re using a sewing machine, choose a stretch stitch to maintain the fabric’s elasticity. If you’re hand-sewing, a simple zigzag stitch will do the trick! Start from one side of the hem and work your way to the other, taking your time to keep everything neat and even. Once you’re done, gently trim any excess thread, and voilà – your yoga pants are now the perfect length for all your poses and stretches!
Get Stretchy with Style: A Cheerful Guide to Perfect Hemming!
Now that you’ve hemmed your pants, let’s talk about how to add a little flair to your new creation! Why not opt for a decorative stitch or a fun contrasting thread color? This little touch can turn your simple hem into a fashion statement. Try using a double needle if your sewing machine allows it, as this creates a lovely parallel stitch that’s both functional and stylish. Plus, it gives your yoga pants a professional finish that will make you feel proud every time you wear them!
Remember, your sewing doesn’t have to be perfect – it’s all about your personal style! If you’re feeling extra creative, consider adding a small embroidered design near the hem or even a cute patch. This not only personalizes your pants but also allows you to embrace your individuality. And let’s face it, the bolder the better when it comes to yoga wear!
Finally, don’t forget to give your newly hemmed yoga pants a good wash before their debut. This ensures any loose threads are taken care of and gives your pants that fresh, ready-to-wear feel. Slip them on, feel the comfort, and strut your stuff with confidence, knowing you’ve created something uniquely yours!
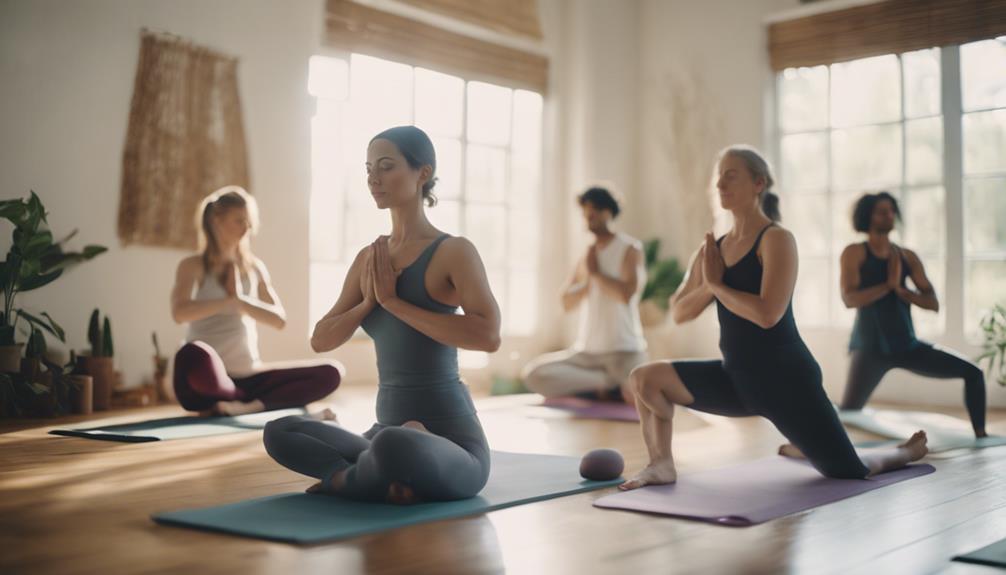
There you have it – a cheerful and easy guide to hemming your yoga pants! Not only have you mastered a simple sewing technique, but you’ve also added a personal touch to your workout wardrobe. So next time you’re in a yoga class, you can shine bright, knowing your pants fit perfectly and reflect your unique style. Get ready to stretch, flow, and move with confidence, all while wearing your fabulously hemmed yoga pants! Happy sewing!